

Continuing from my last post, I’ll detail below how I went about painting the array of plants and animals.
My Mural Pt 2
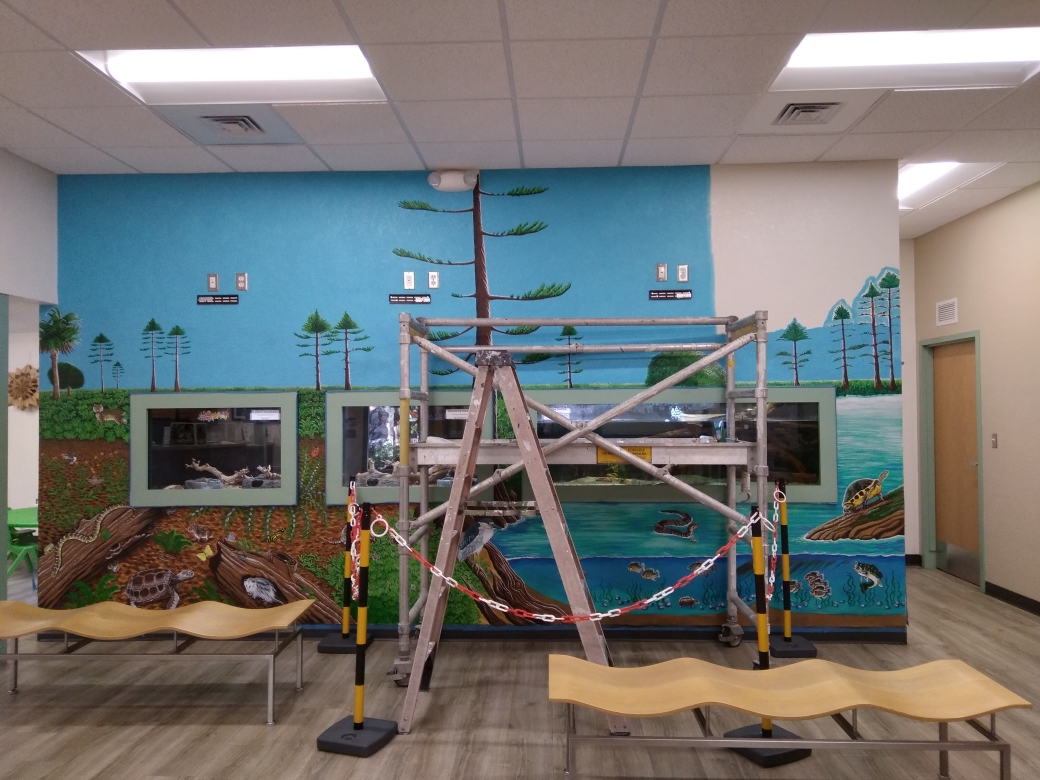
As I continued onto the land area of the mural, I had laid down the base color of sandy brown and afterward painted over a darker brown. The foreground was to be dead leaves, so I wanted a darker layer before I started that. However, I had completed a few of the animals and logs beforehand.
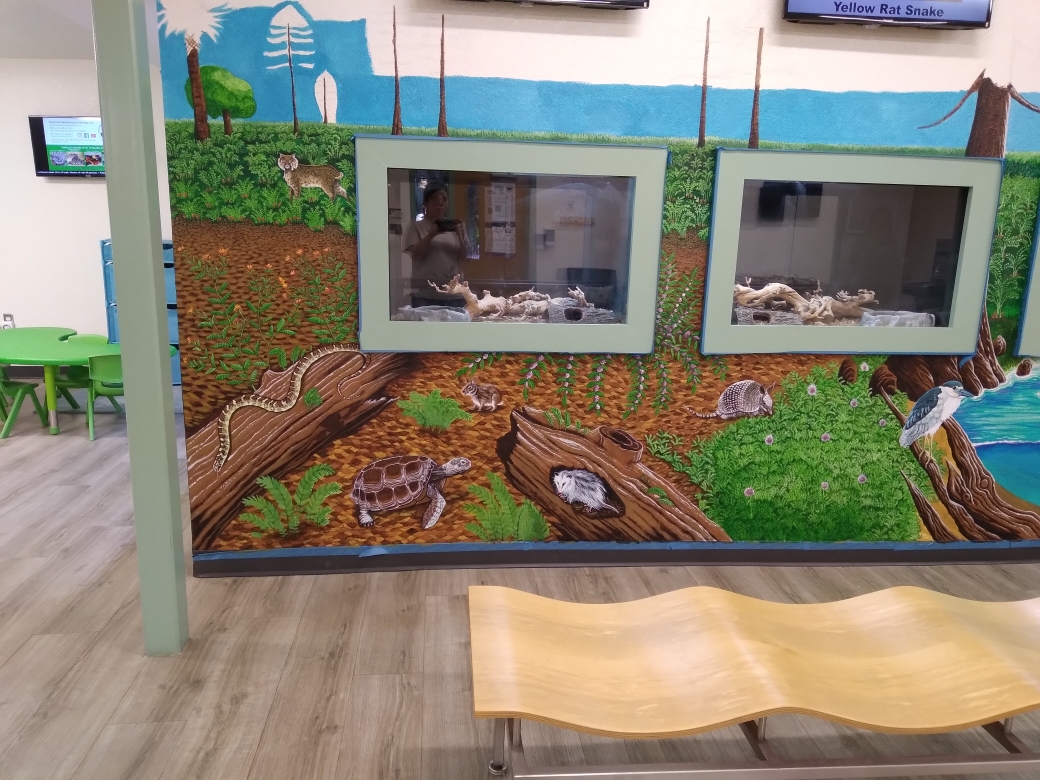
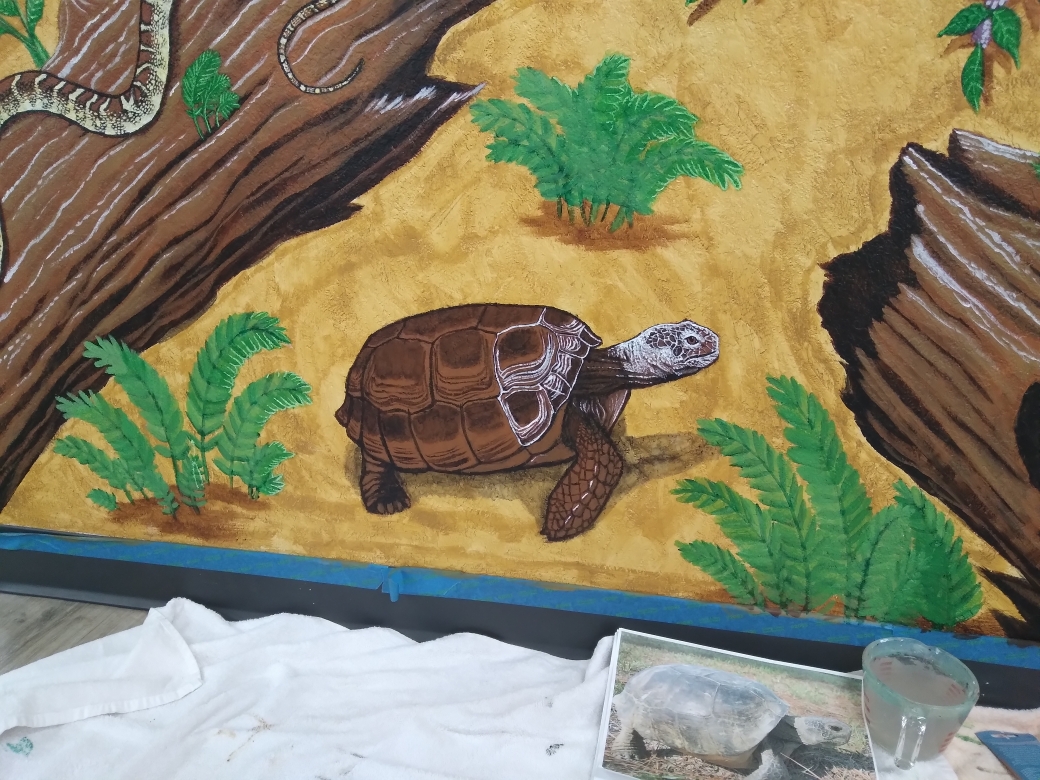
The gopher tortoise was the first to be worked on, which is only fair, as there are a few residents living in the park. I painted in the dark shades first, then added lighter shades one layer at a time. Highlights and shadows were done last. The second animal was the opossum inside the log, which was an unplanned addition. I moved on to the nine-banded armadillo and this took a bit more detail work. The back of this animal is surprisingly full of texture and hairs. So many little scales everywhere. I can’t tell you how much I used my tiny brushes.
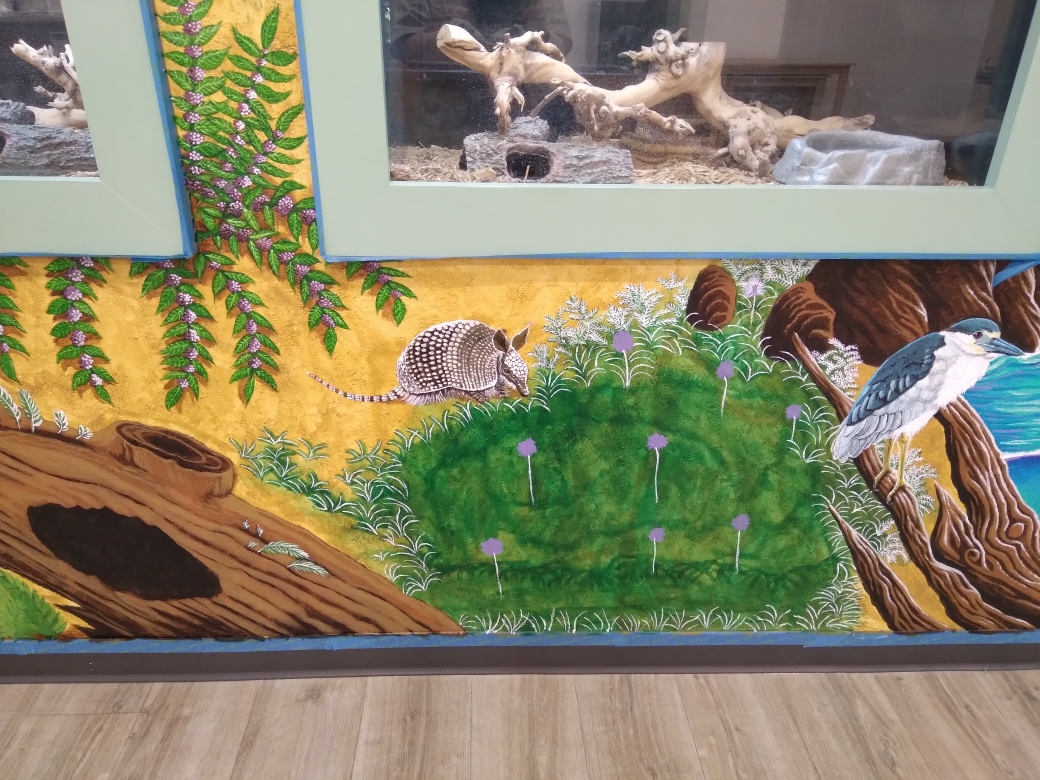


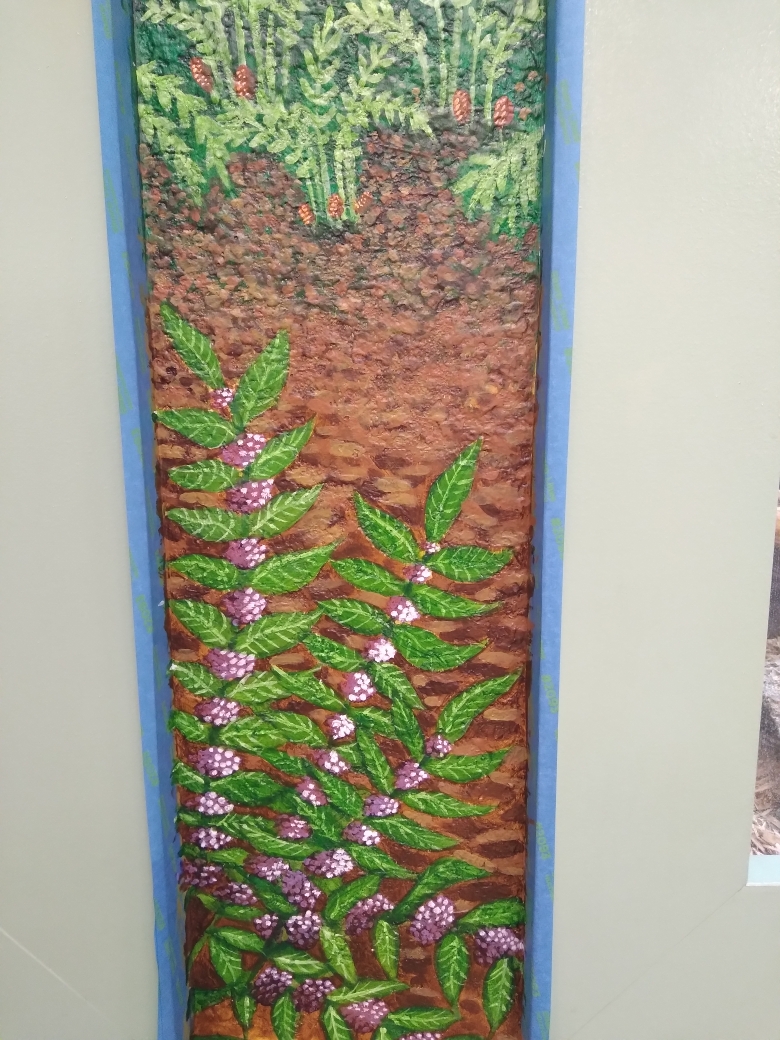
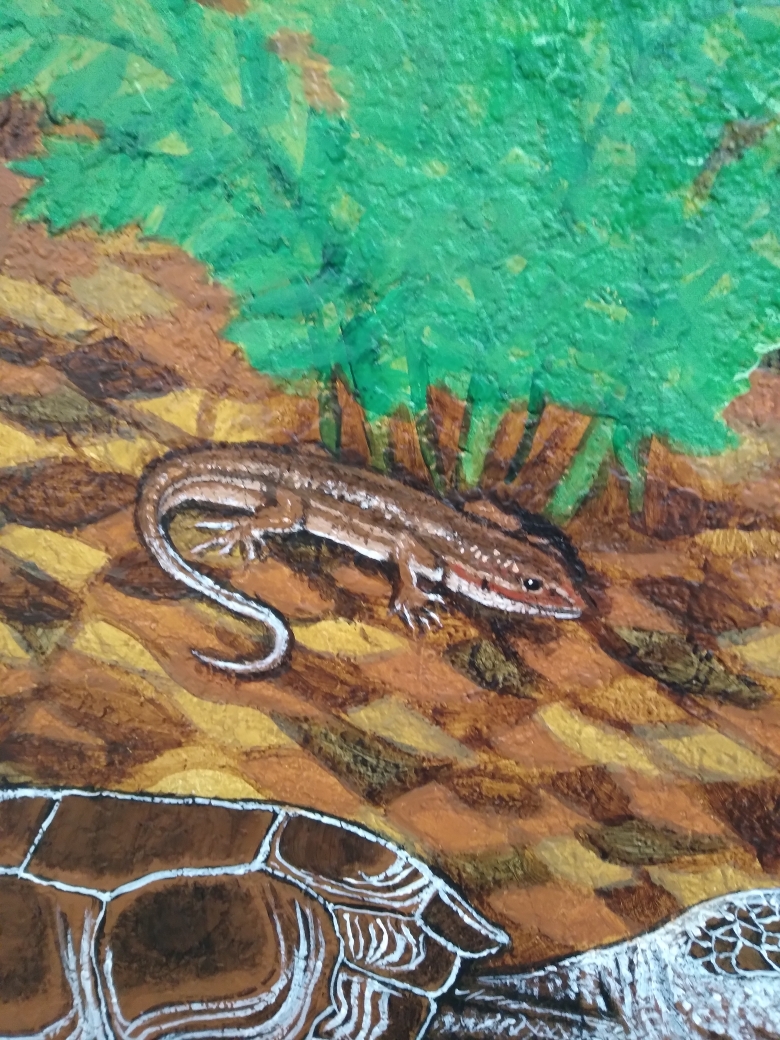
I believe at this point I chose to start working on the mimosa ground cover I had in the foreground, I started drawing out the minuscule leaves and stems with white to begin. The reason for this is to have built-in highlights when I brushed in my green. The paint is slightly opaque, so this gives any white a lighter shade of the paint being used. I lost track of how many hours just this foreground plant took to finish. I occasionally took breaks to paint something else just to avoid the repetitive nature of it.


Soon after, I painted the Florida Kingsnake, and Marsh Rabbit. With the larger fauna done, I worked to complete the dead leaves texture. Much like painting scales, I drew a sort of grid, and colored in earthy tones one would find in decaying leaves. I applied darker tones and shading where needed, in places like under the logs, under plants and animals, etc. In the upper region of this area, the leaves get smaller as the perspective moves farther from the viewer, so I achieved part of this by using medium to smaller sized brushes as I moved up.

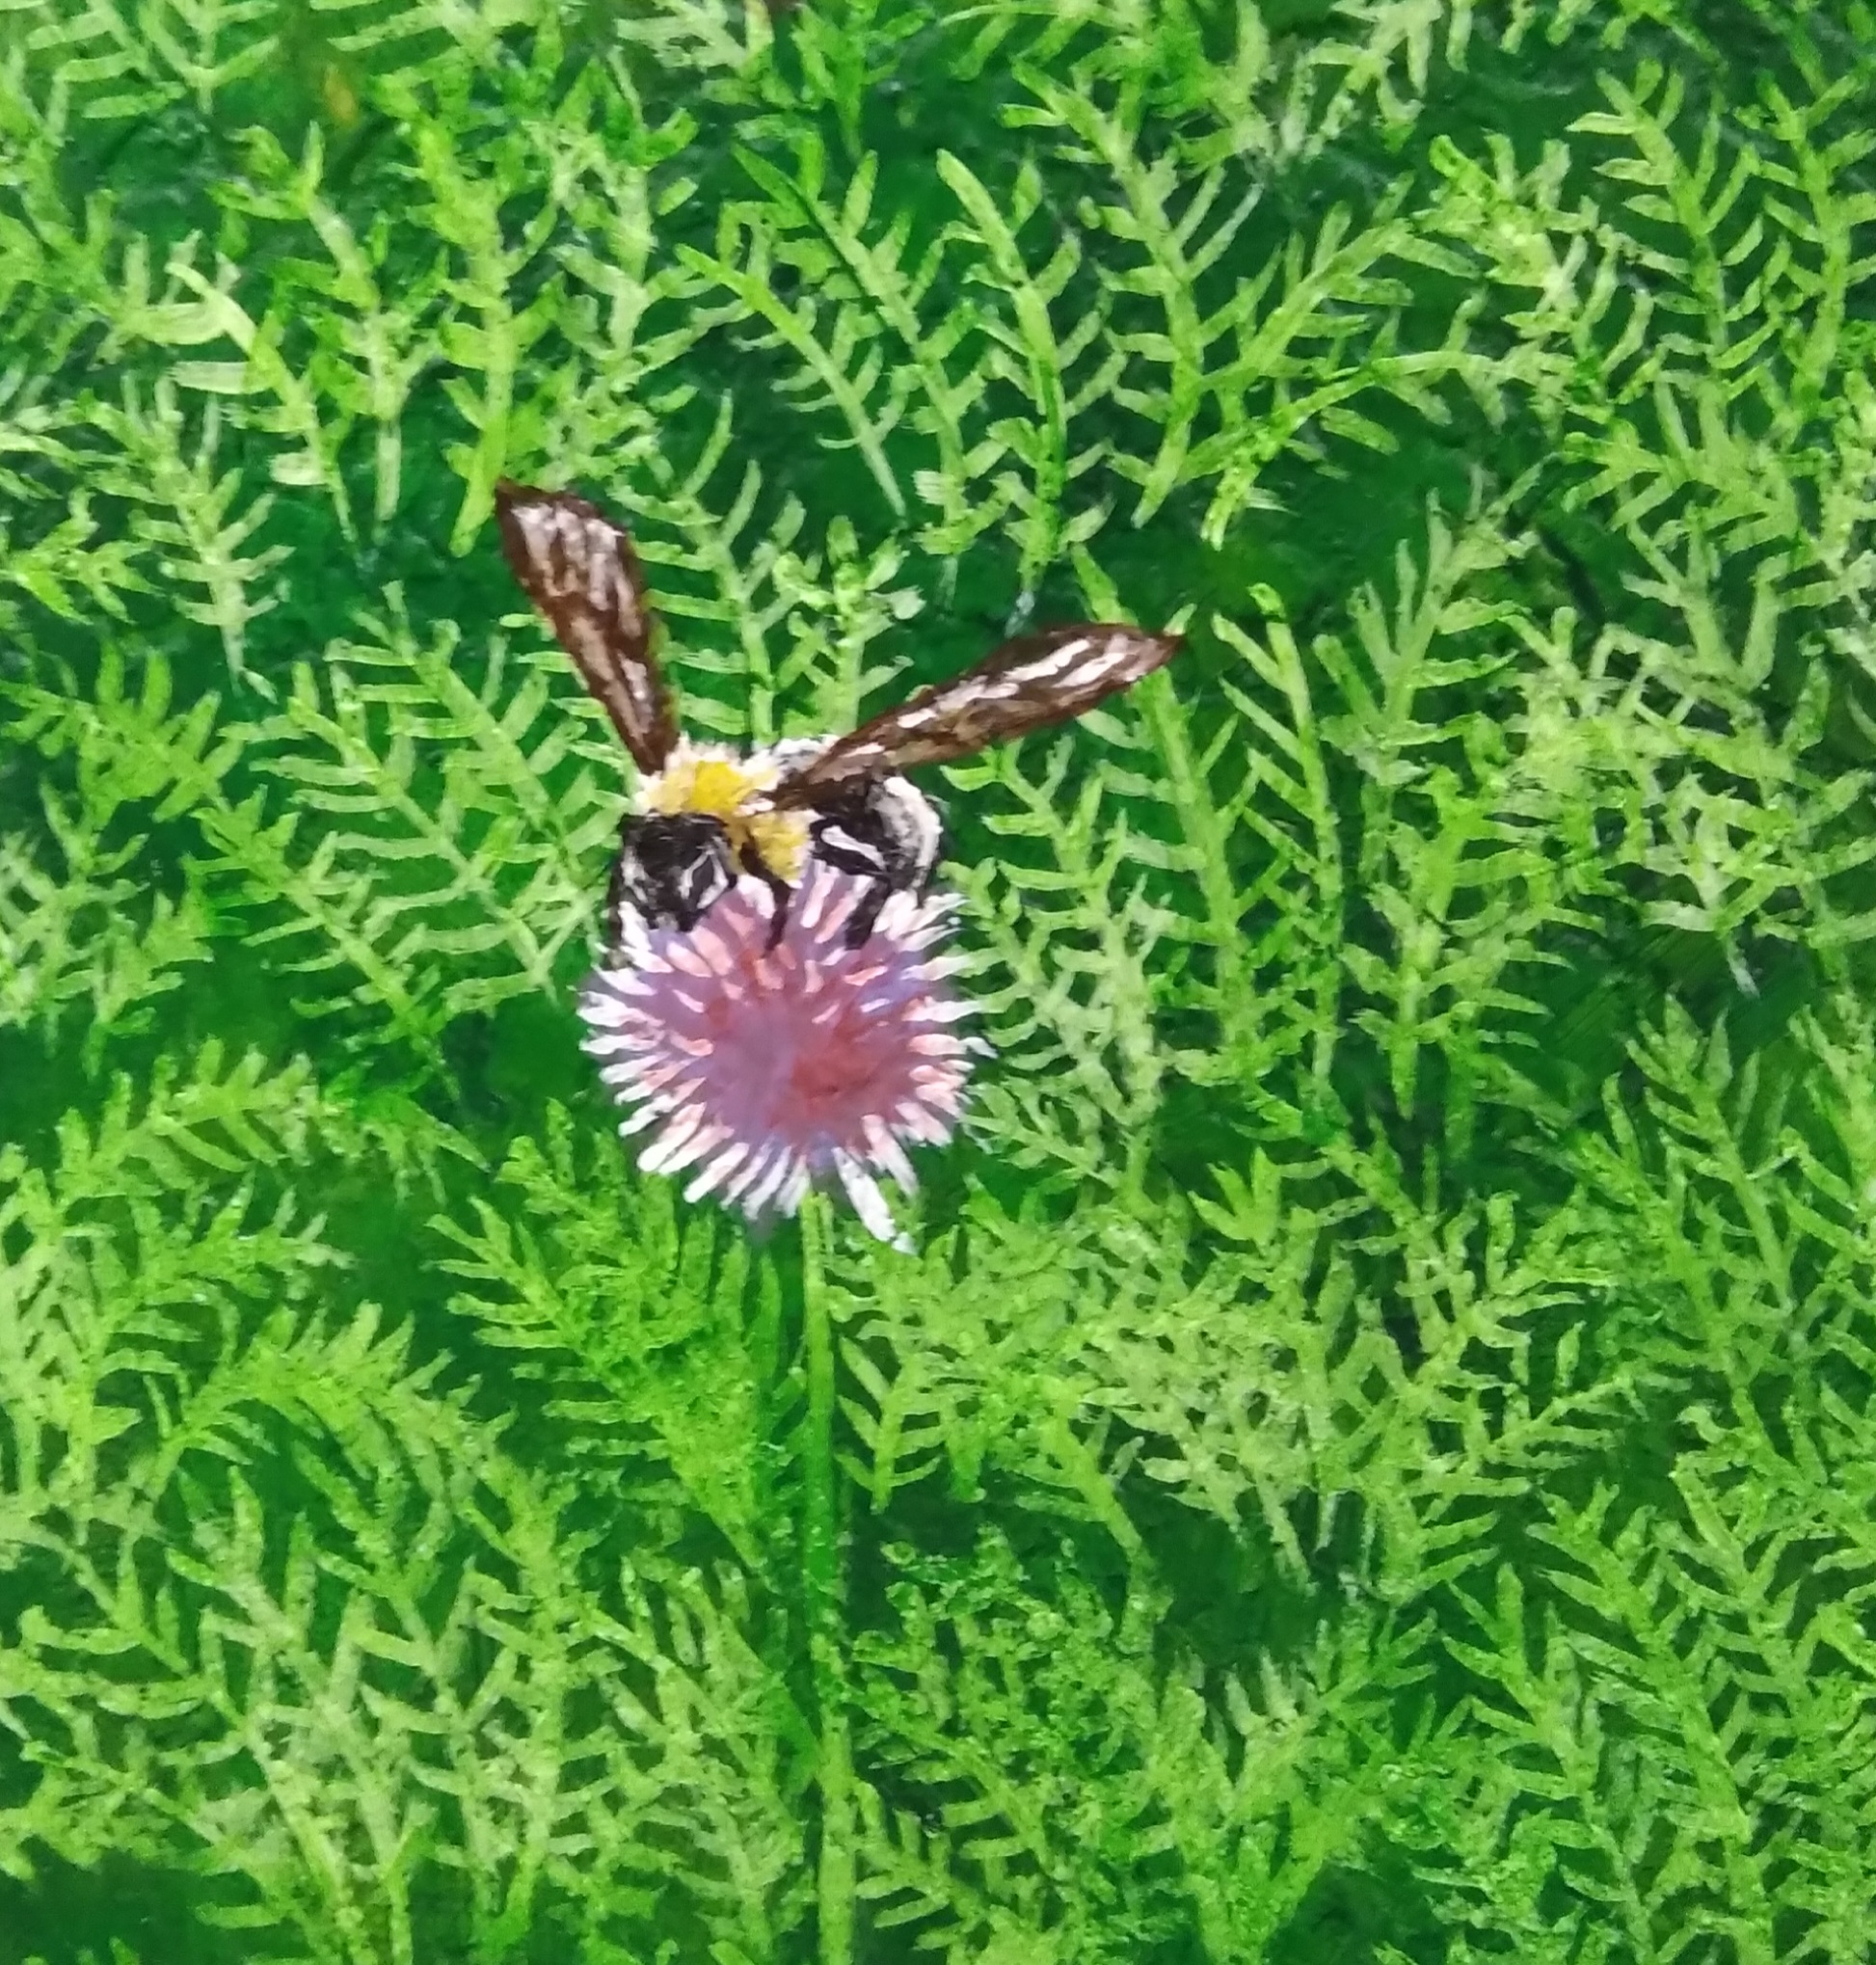
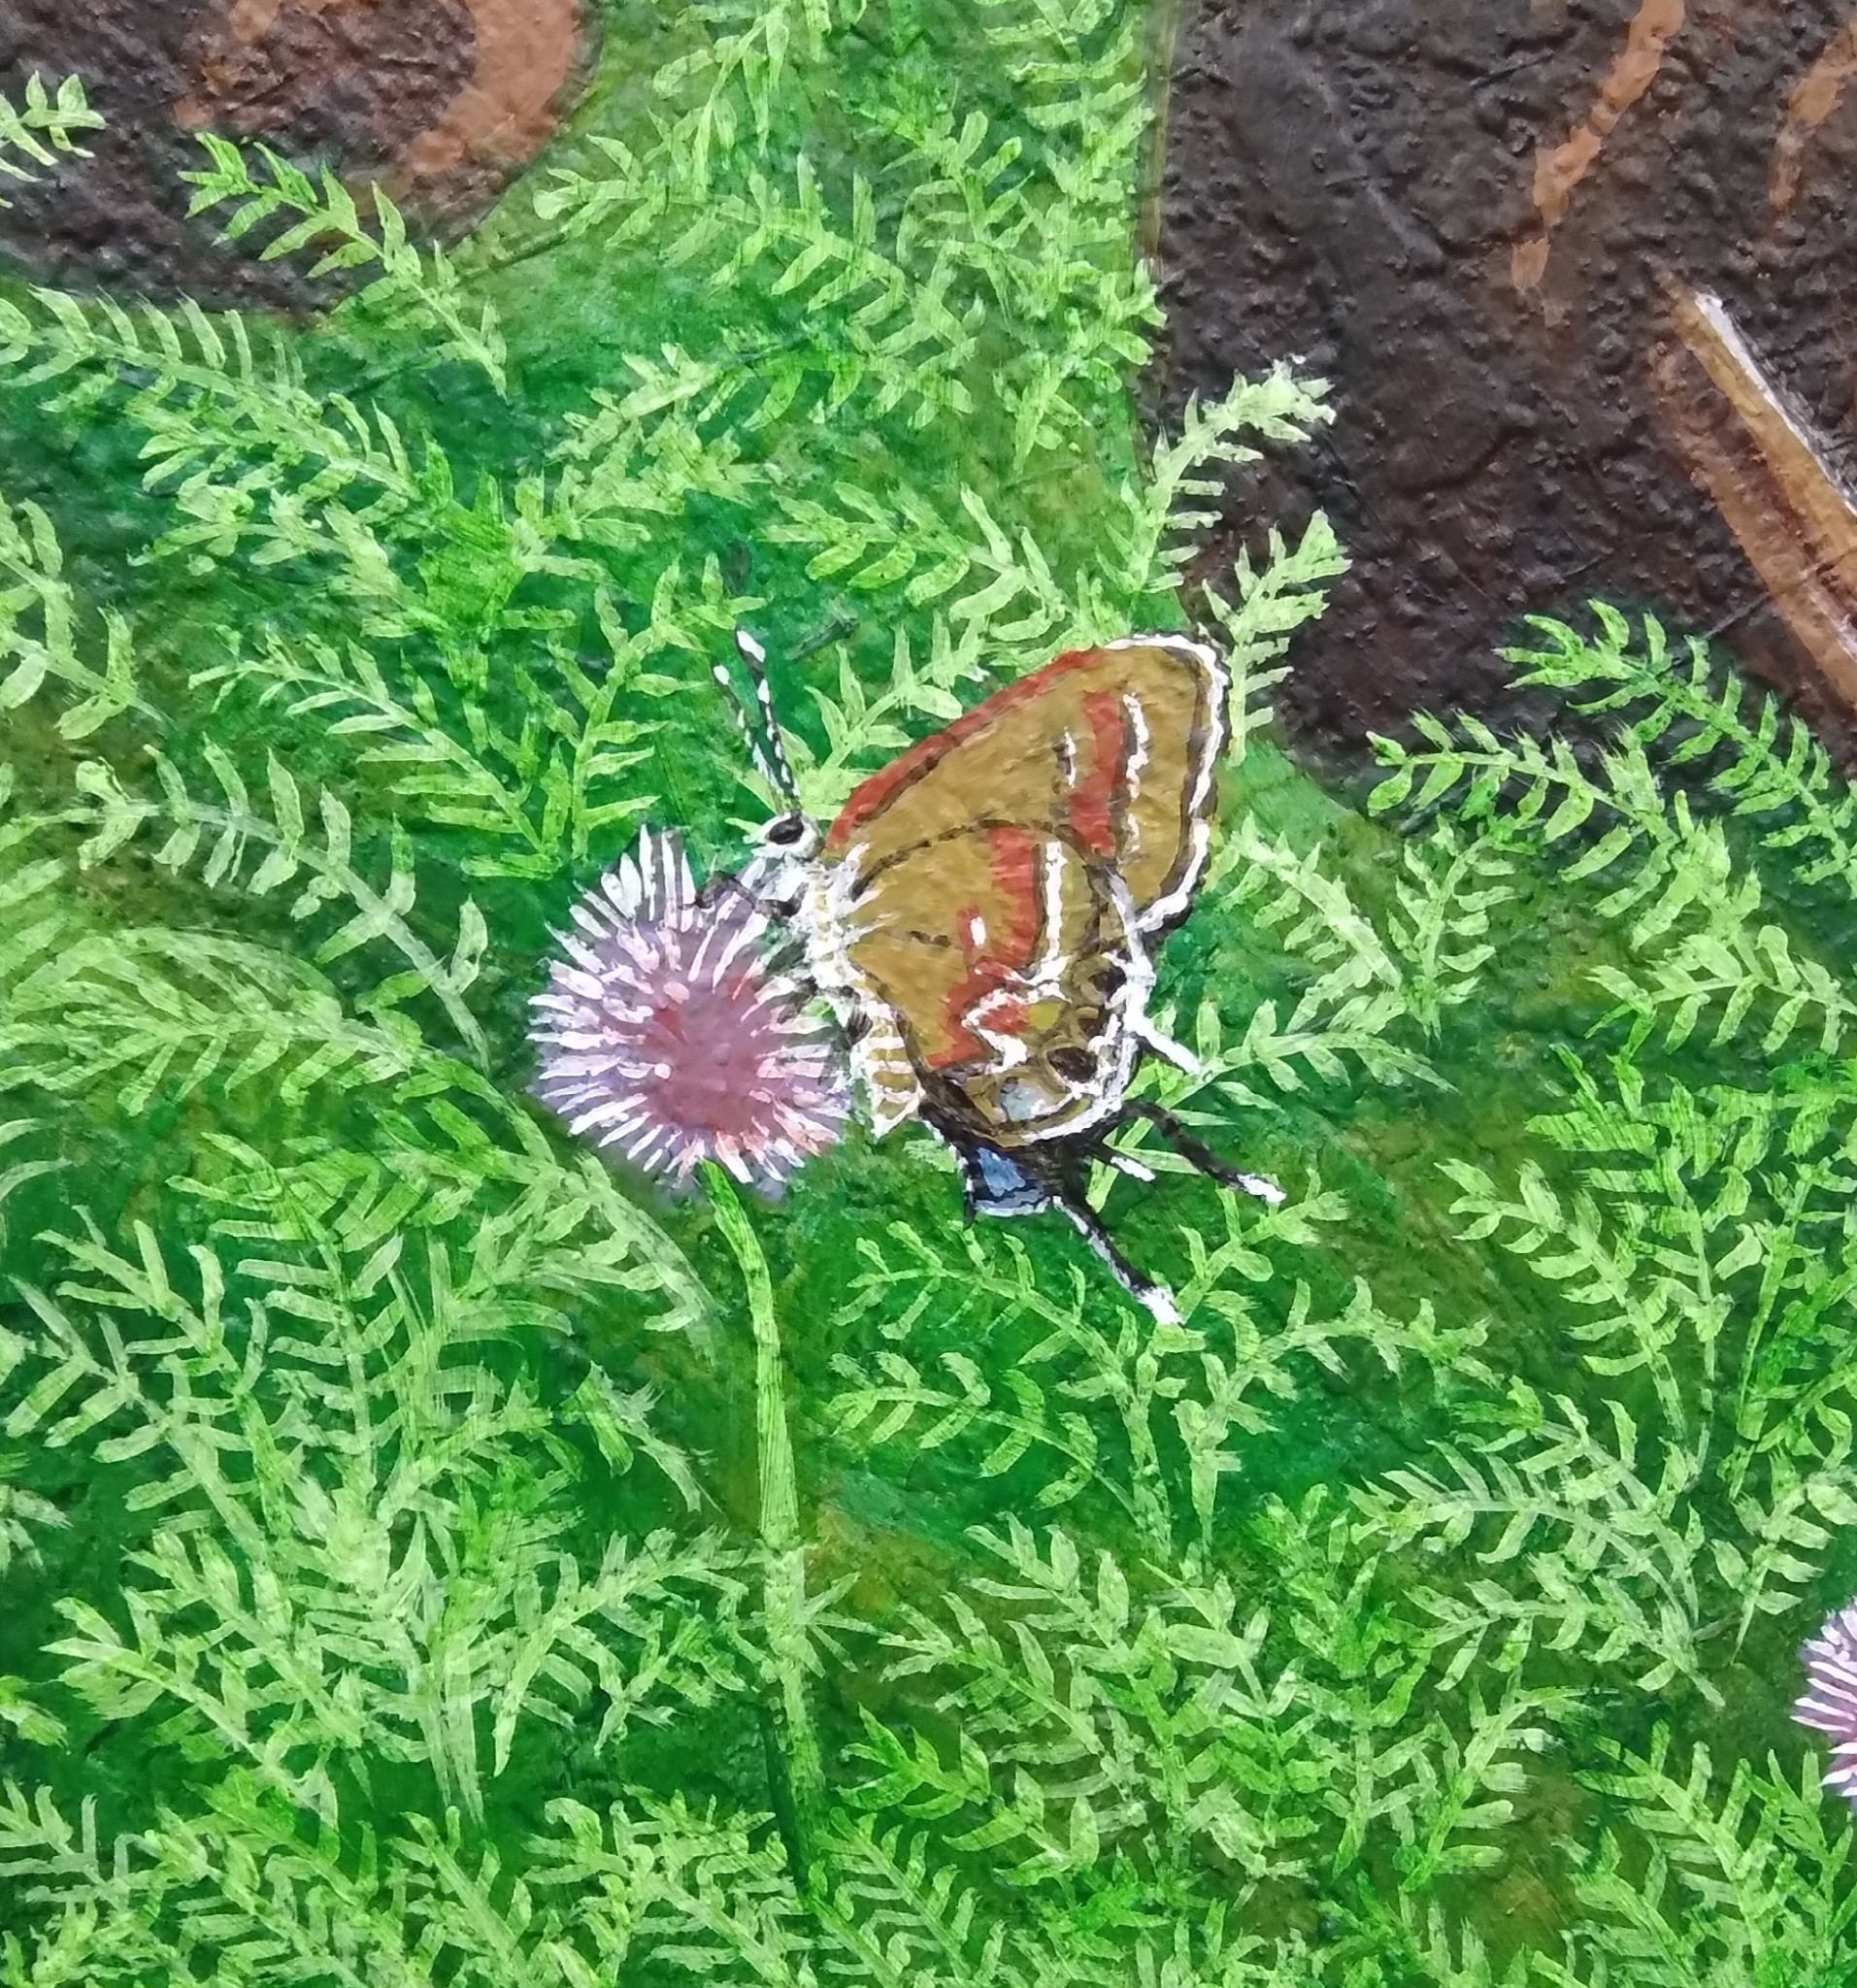
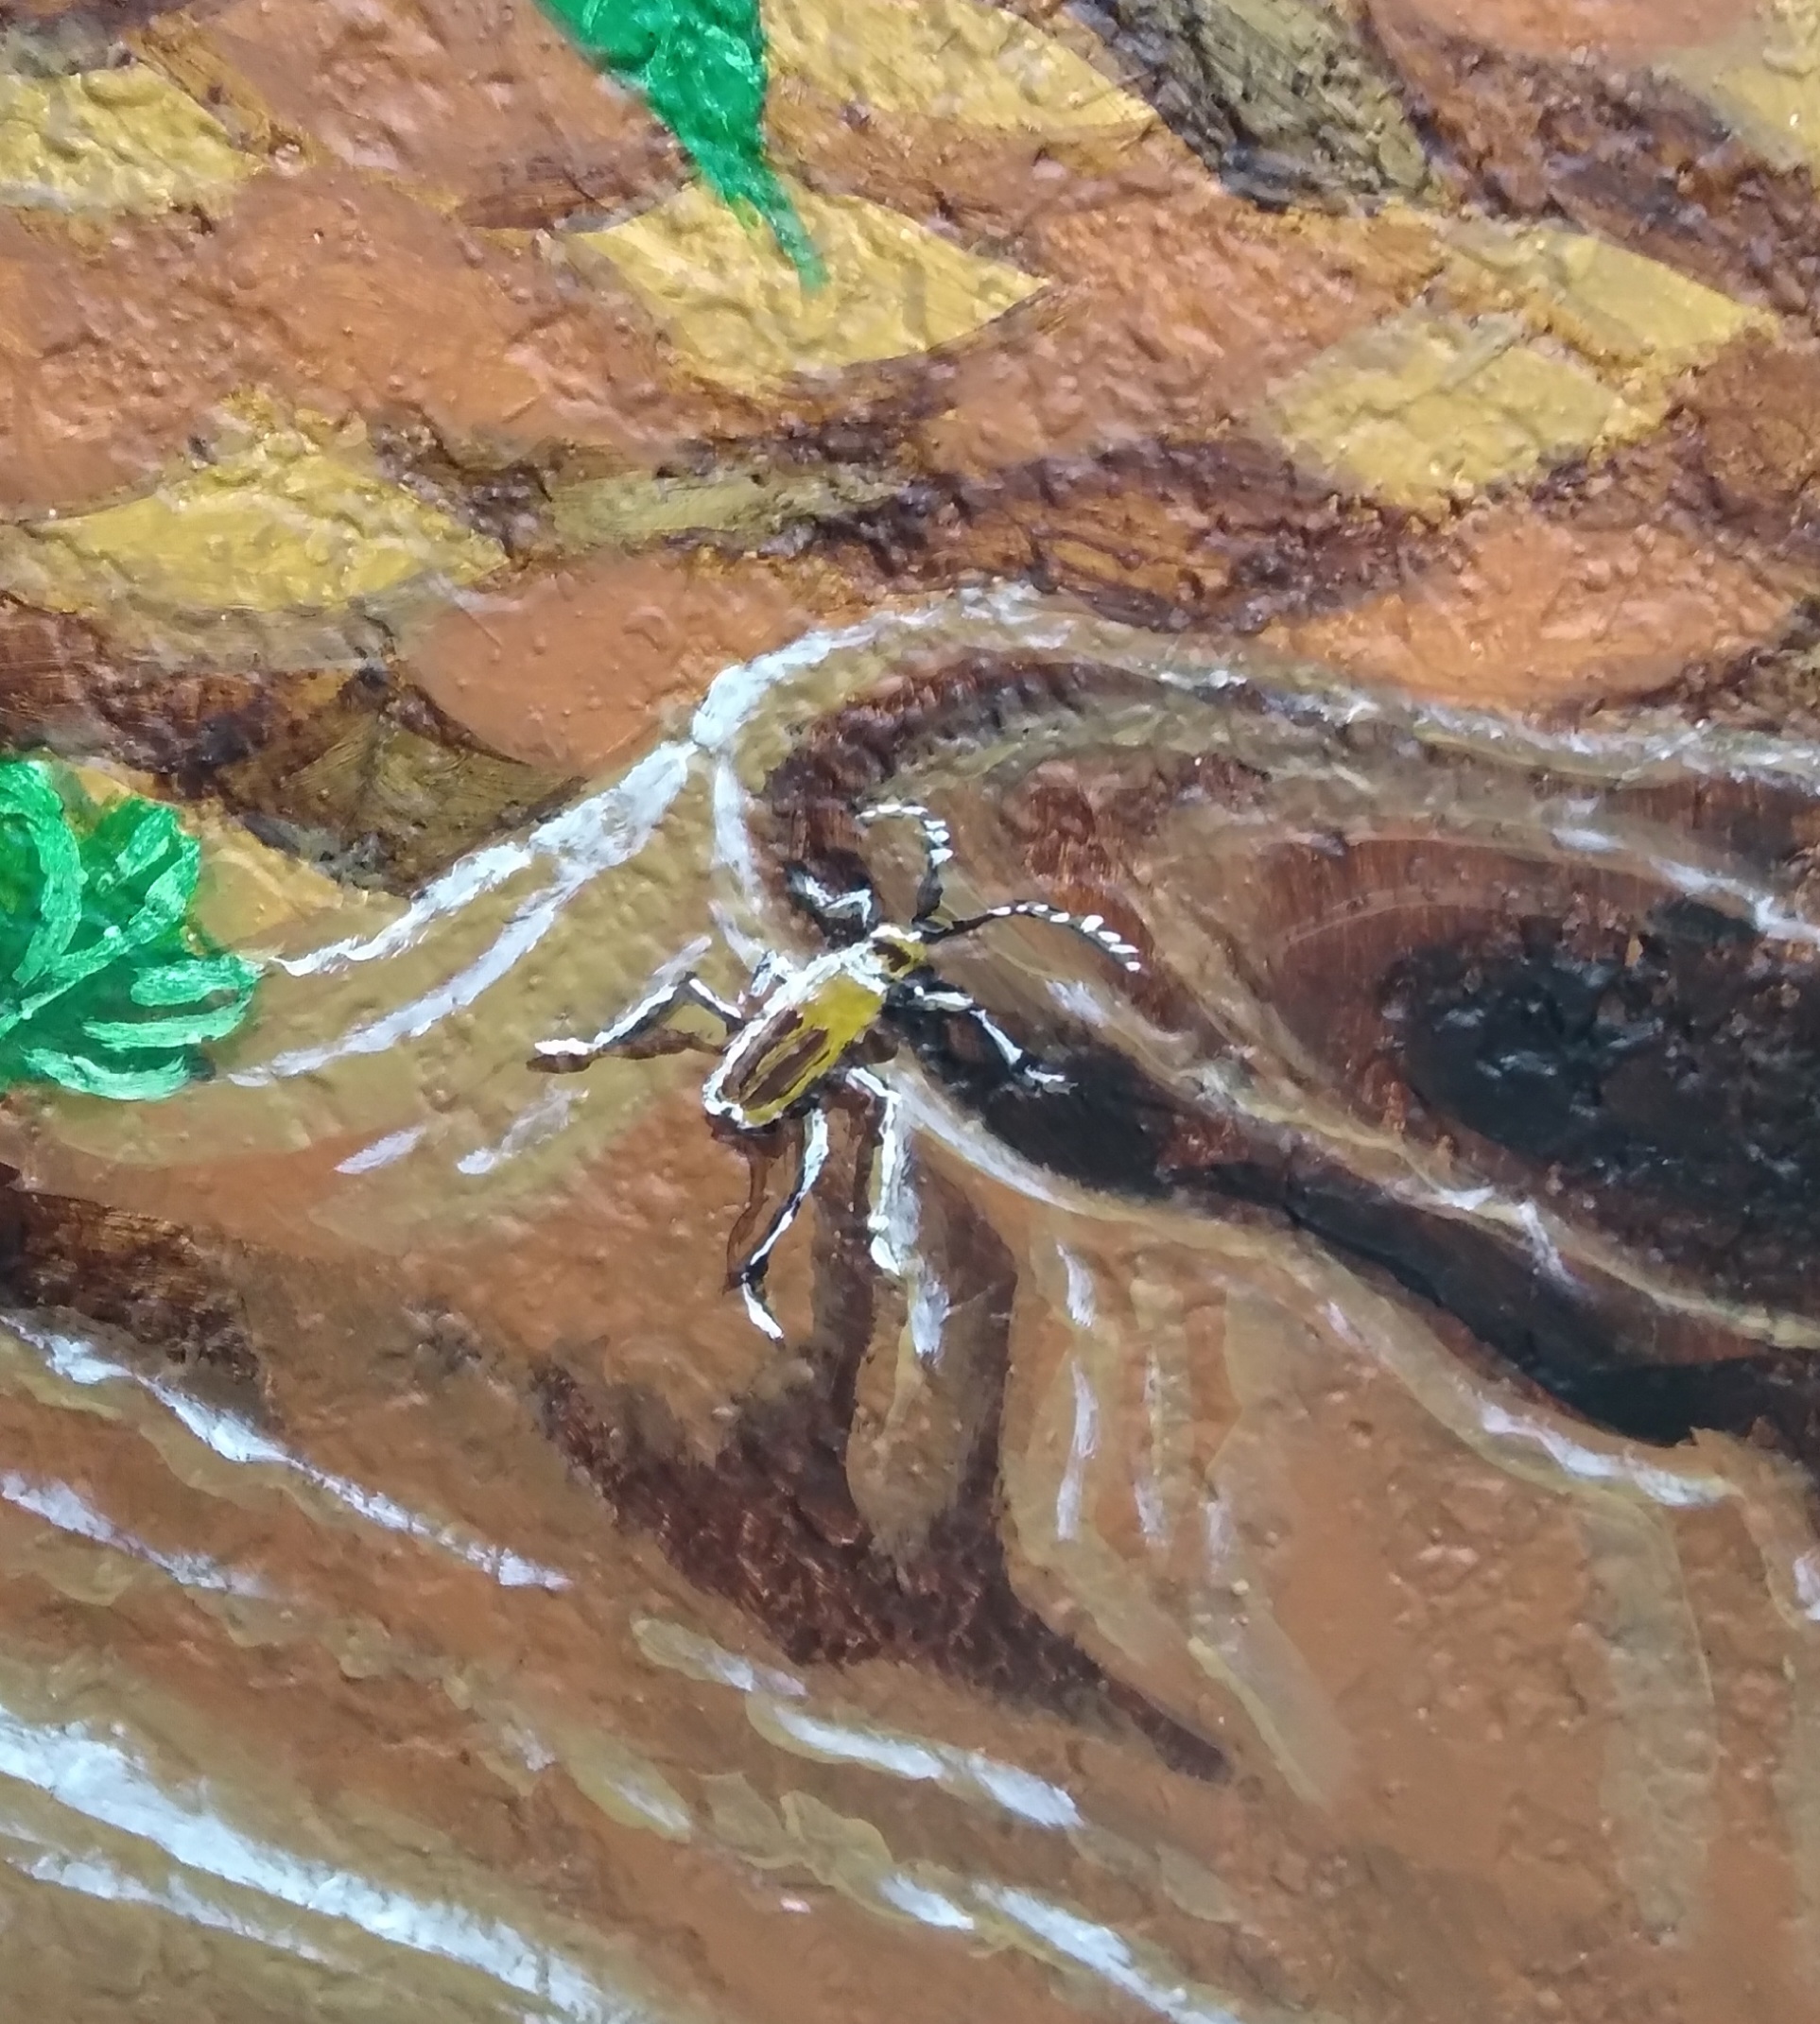
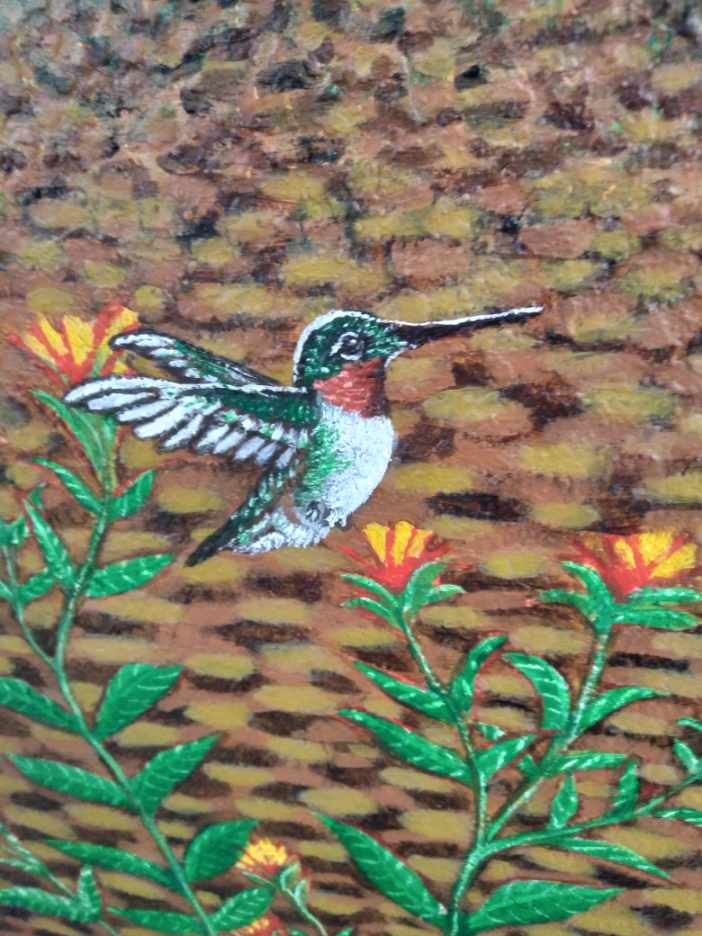
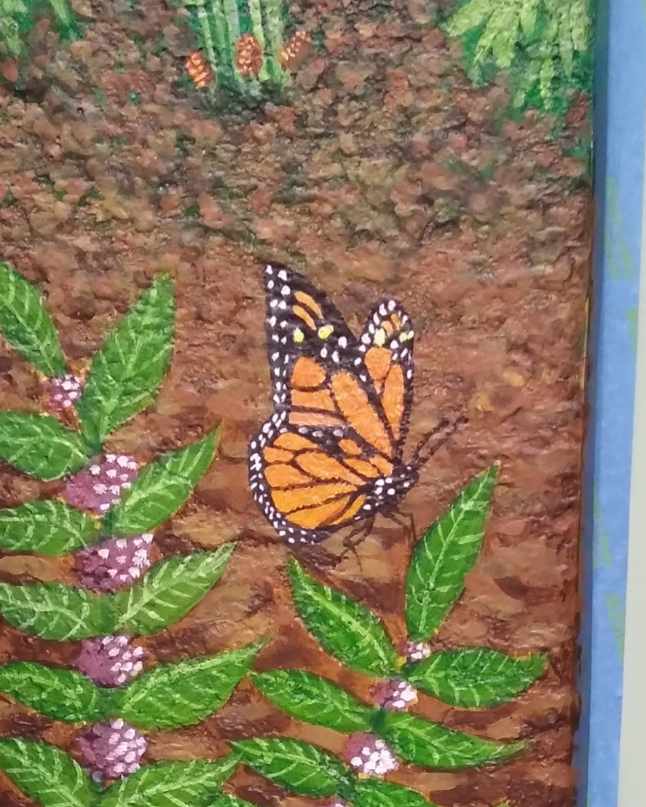
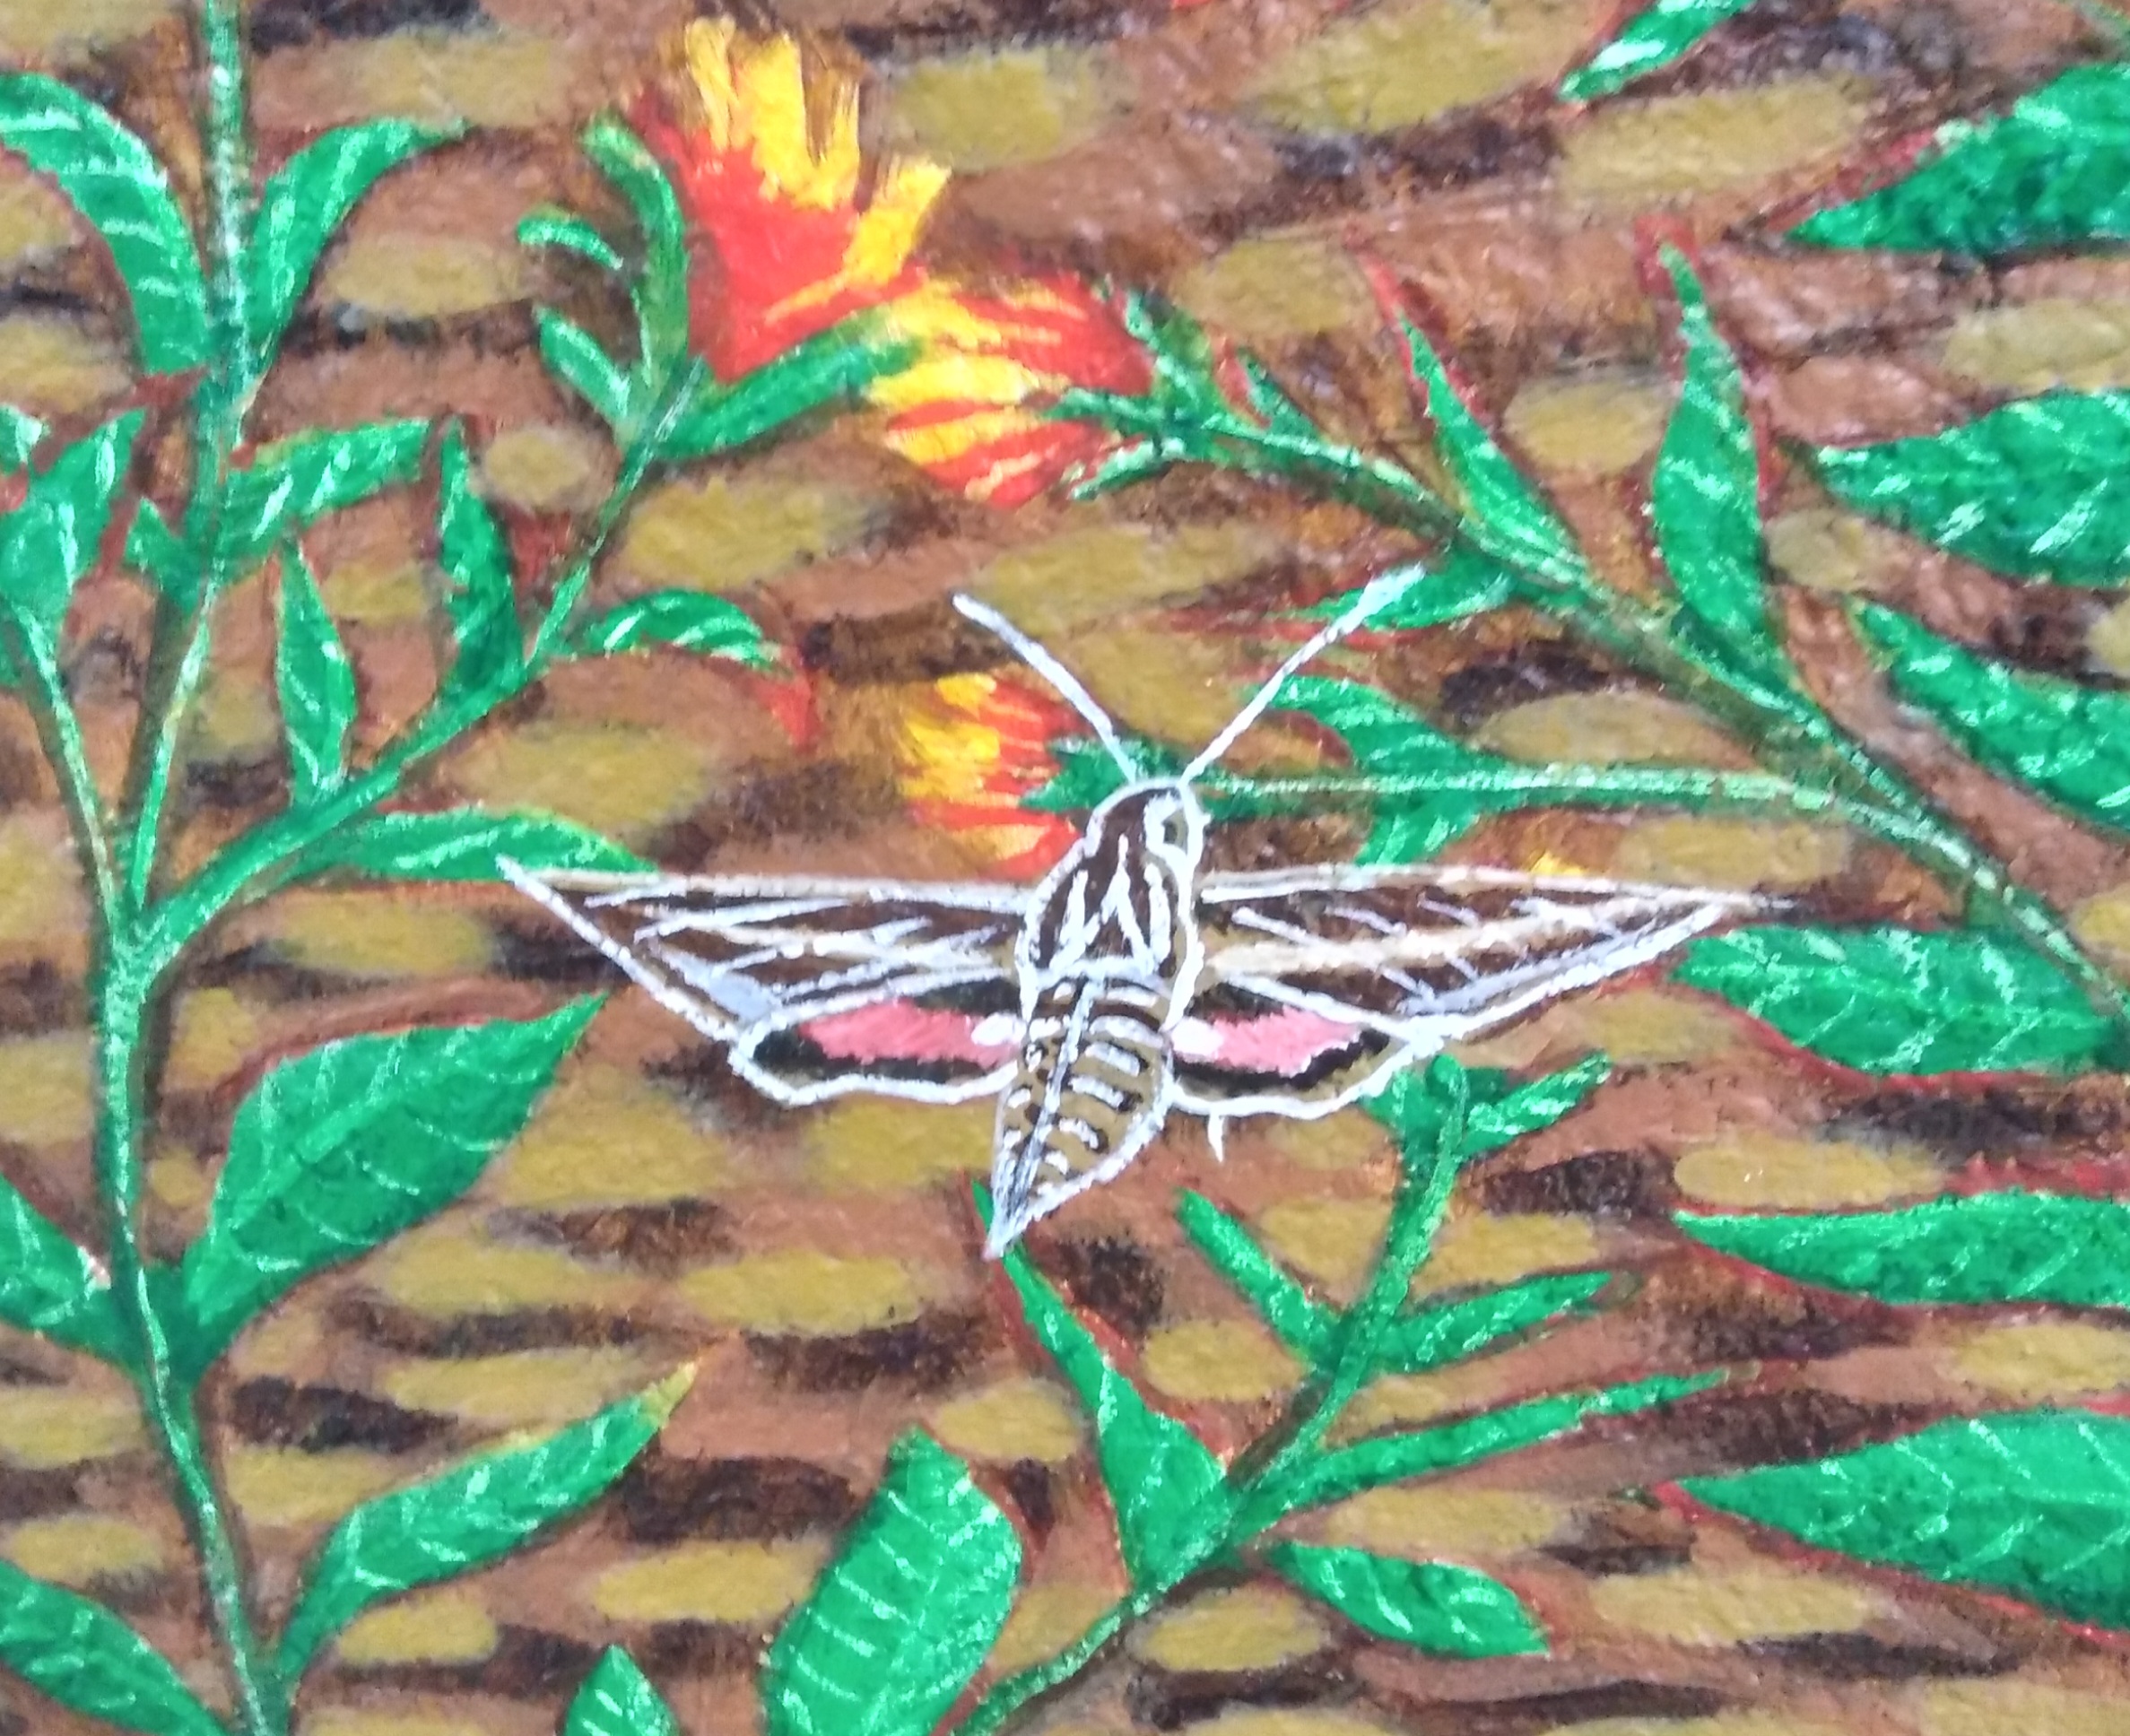
Once that was done, I finished a few hidden animals including a gopher frog, southern toad, and a Ringneck snake. I moved on to smaller creatures such as a Green Anole, Broadhead Skink, and Five Lined Skink. Shortly after that I tackled some plants including the native Beauty Berry and Firebush. The Ruby Throated Hummingbird and a white-lined sphinx moth were added after, and then a handful of butterflies.


As I moved upward, I added the bobcat. I struggled with the face a bit. I was concerned with the fur around the face being too full that it looked more like a lynx, but after a few changes I was happy with it. One of them has been caught on a trail camera here in the park, so I assume she or he moves throughout this and other parks.


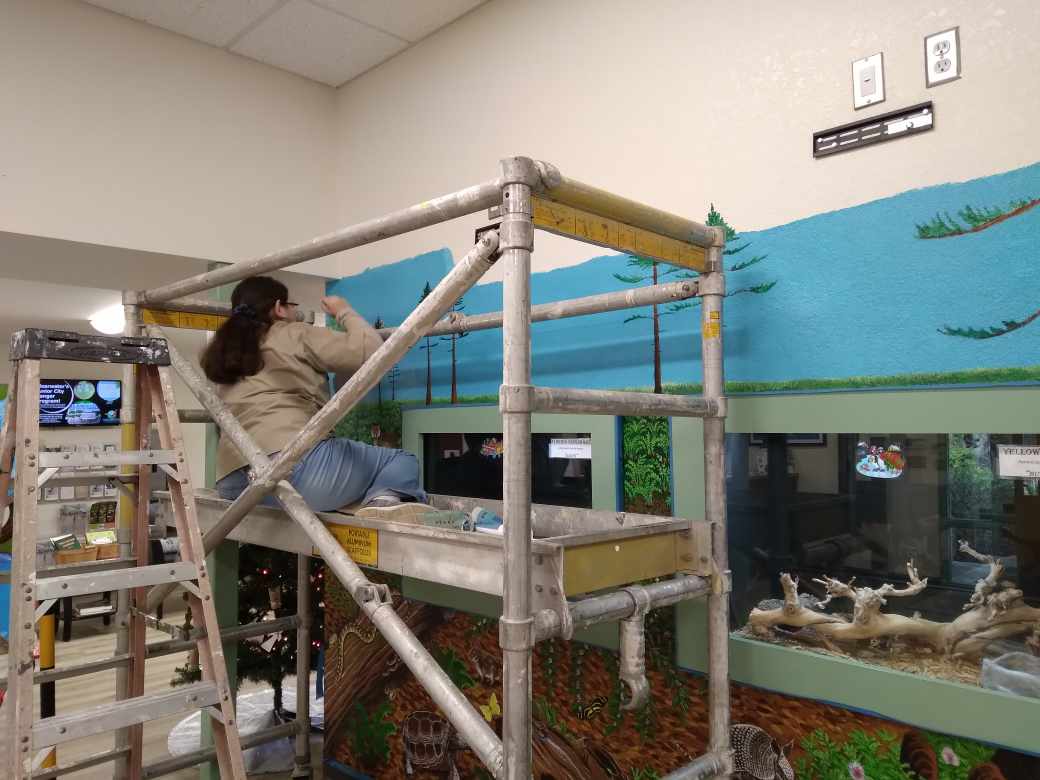
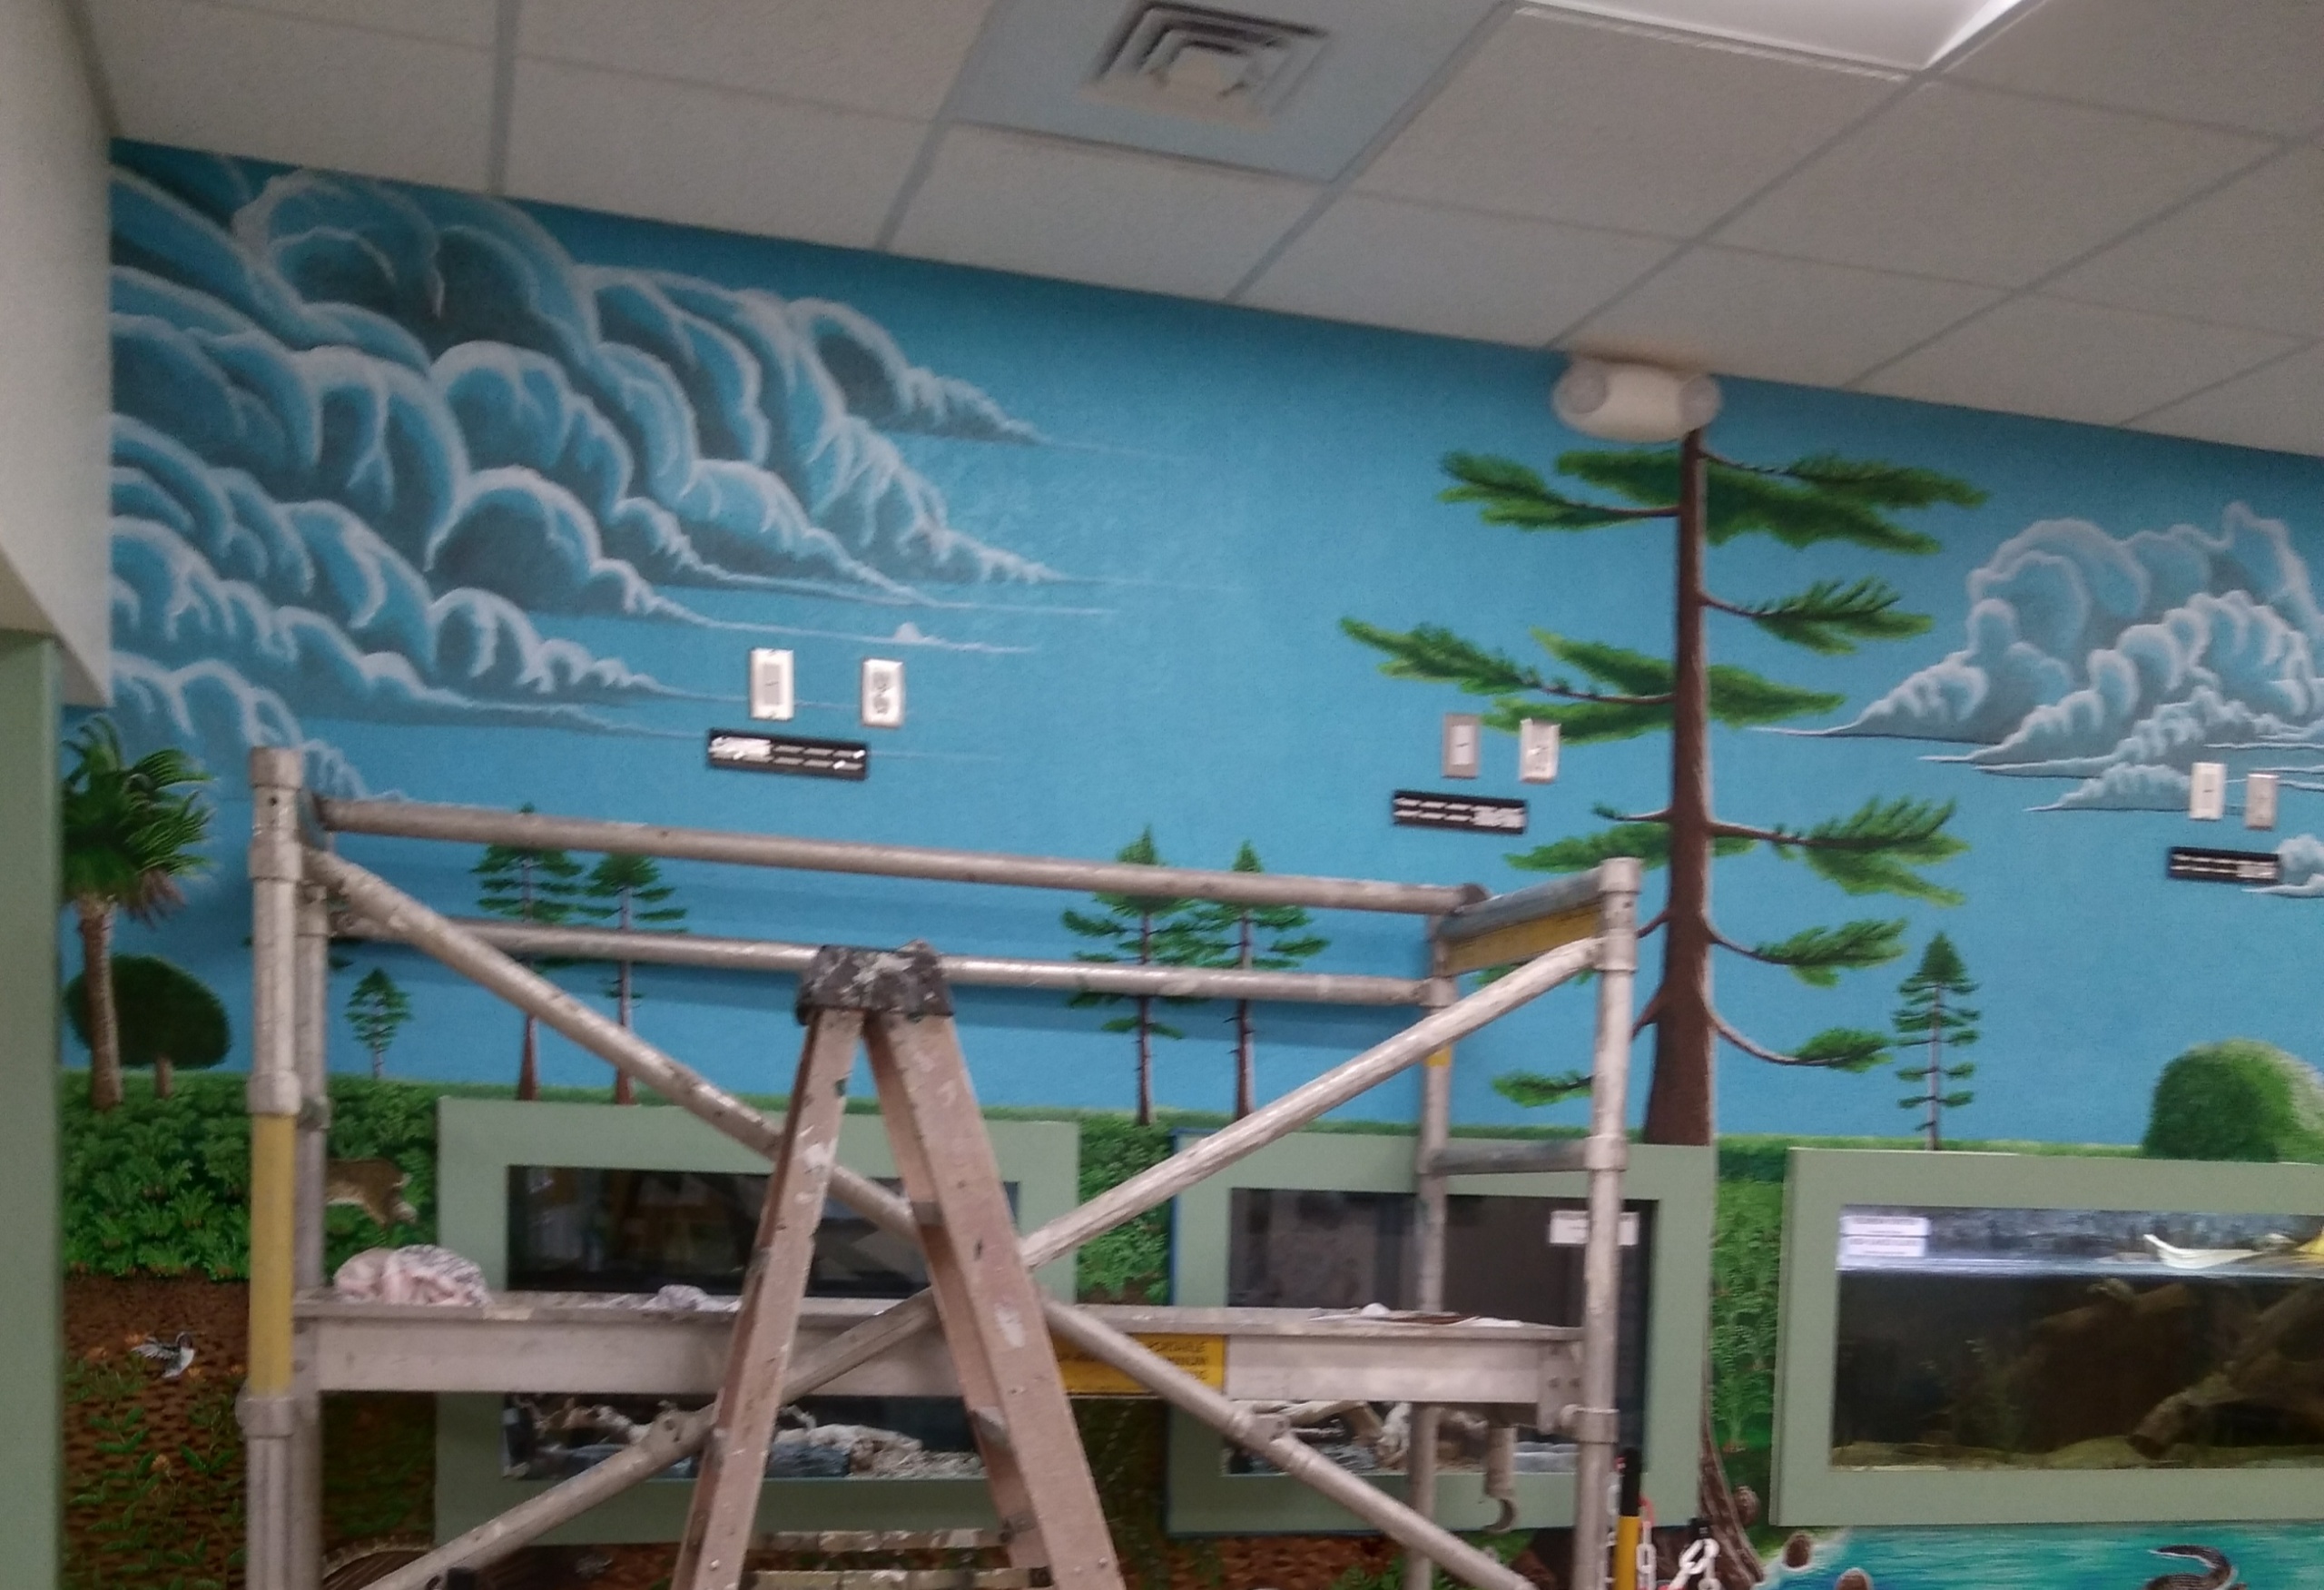
I outlined the trees in the background with base color of brown, only filling in the trunks and limbs. I then begin filling in my sky blue. I had bought a single color for the blue so that no uneven color would be present. I filled in about the bottom half of the sky and realized I’d need a scaffold to reach the top half. Each part took two coats of blue to fill in fully.


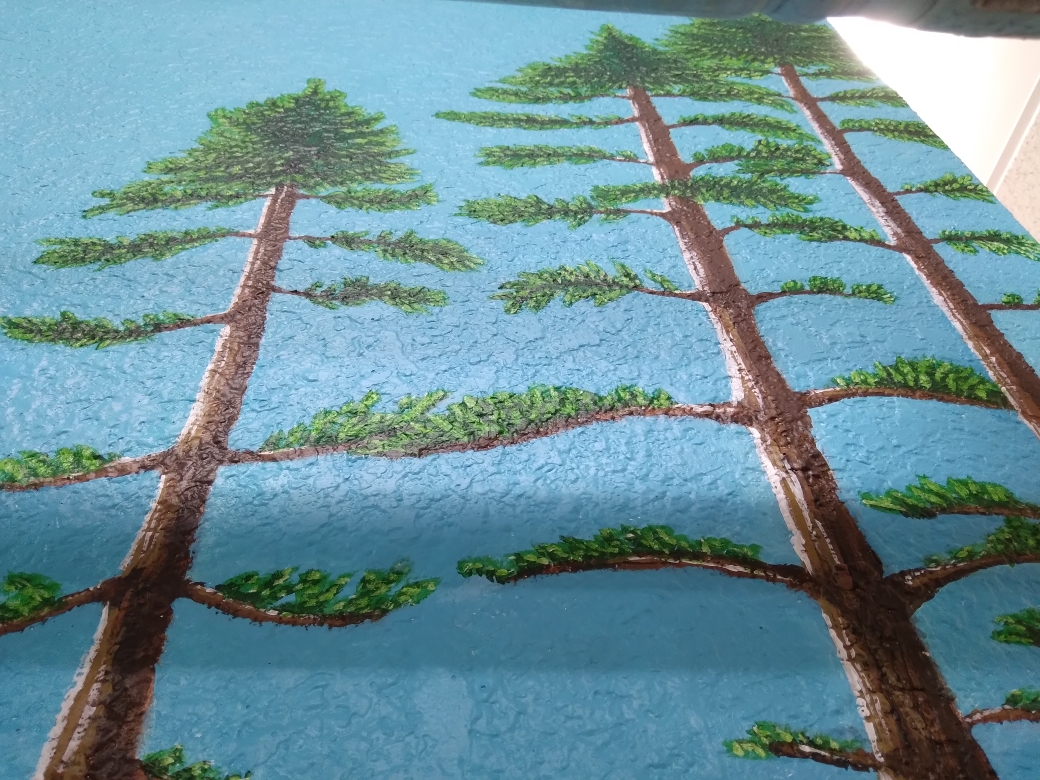

I used dark green, and light green to work in the foliage on my trees. I would go back and add more limbs to the bald cypress trees later on. I used the same technique I used to create the mimosa foreground plant to build my highlights with white. Then I painted my light green wash over top. I went in and worked more definition and texture into the bark with dark lines and eventual highlights. The lone cabbage palm on the left side of the mural was the only differing bark and foliage I painted.
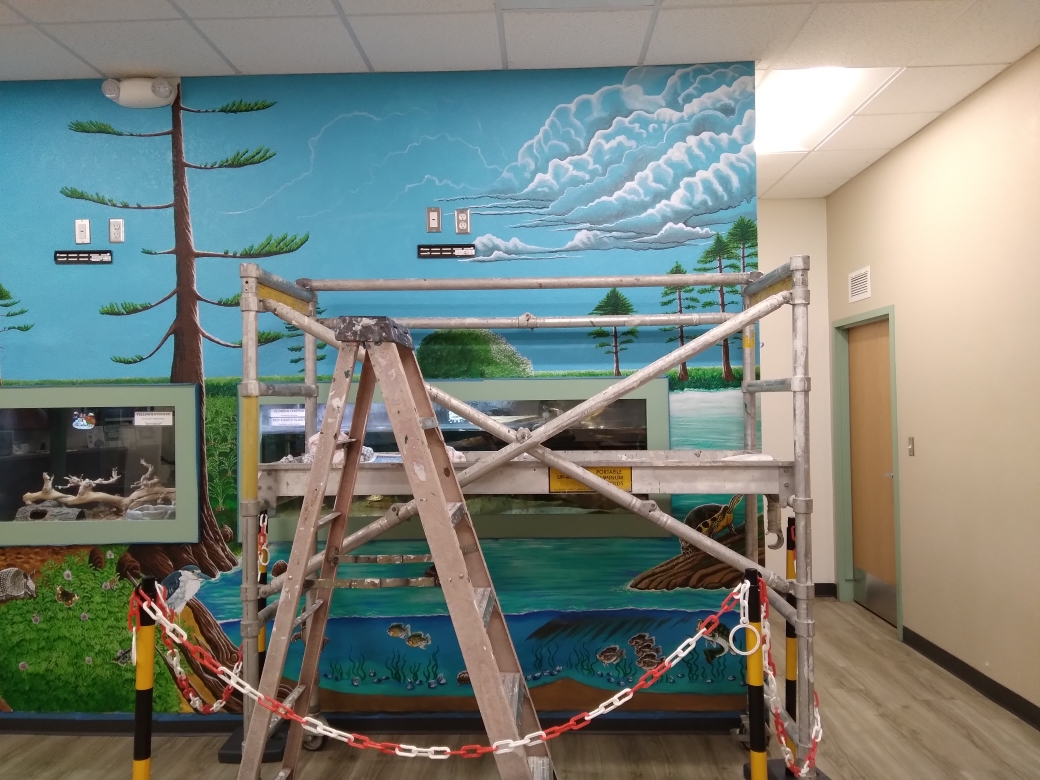
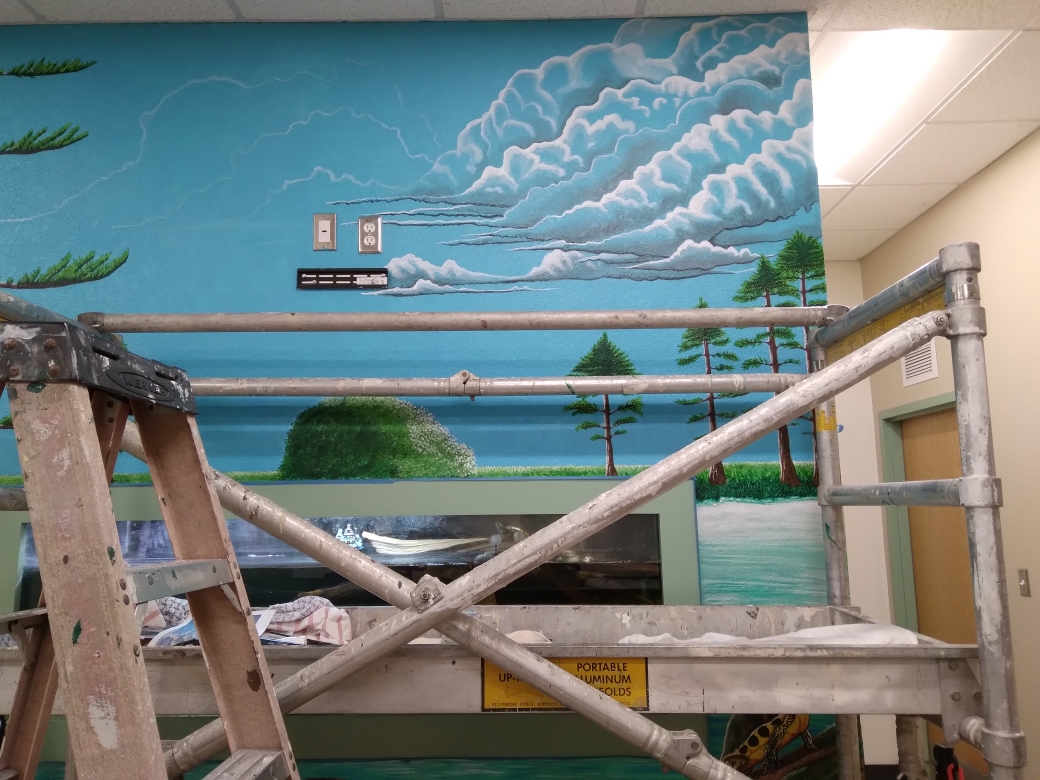

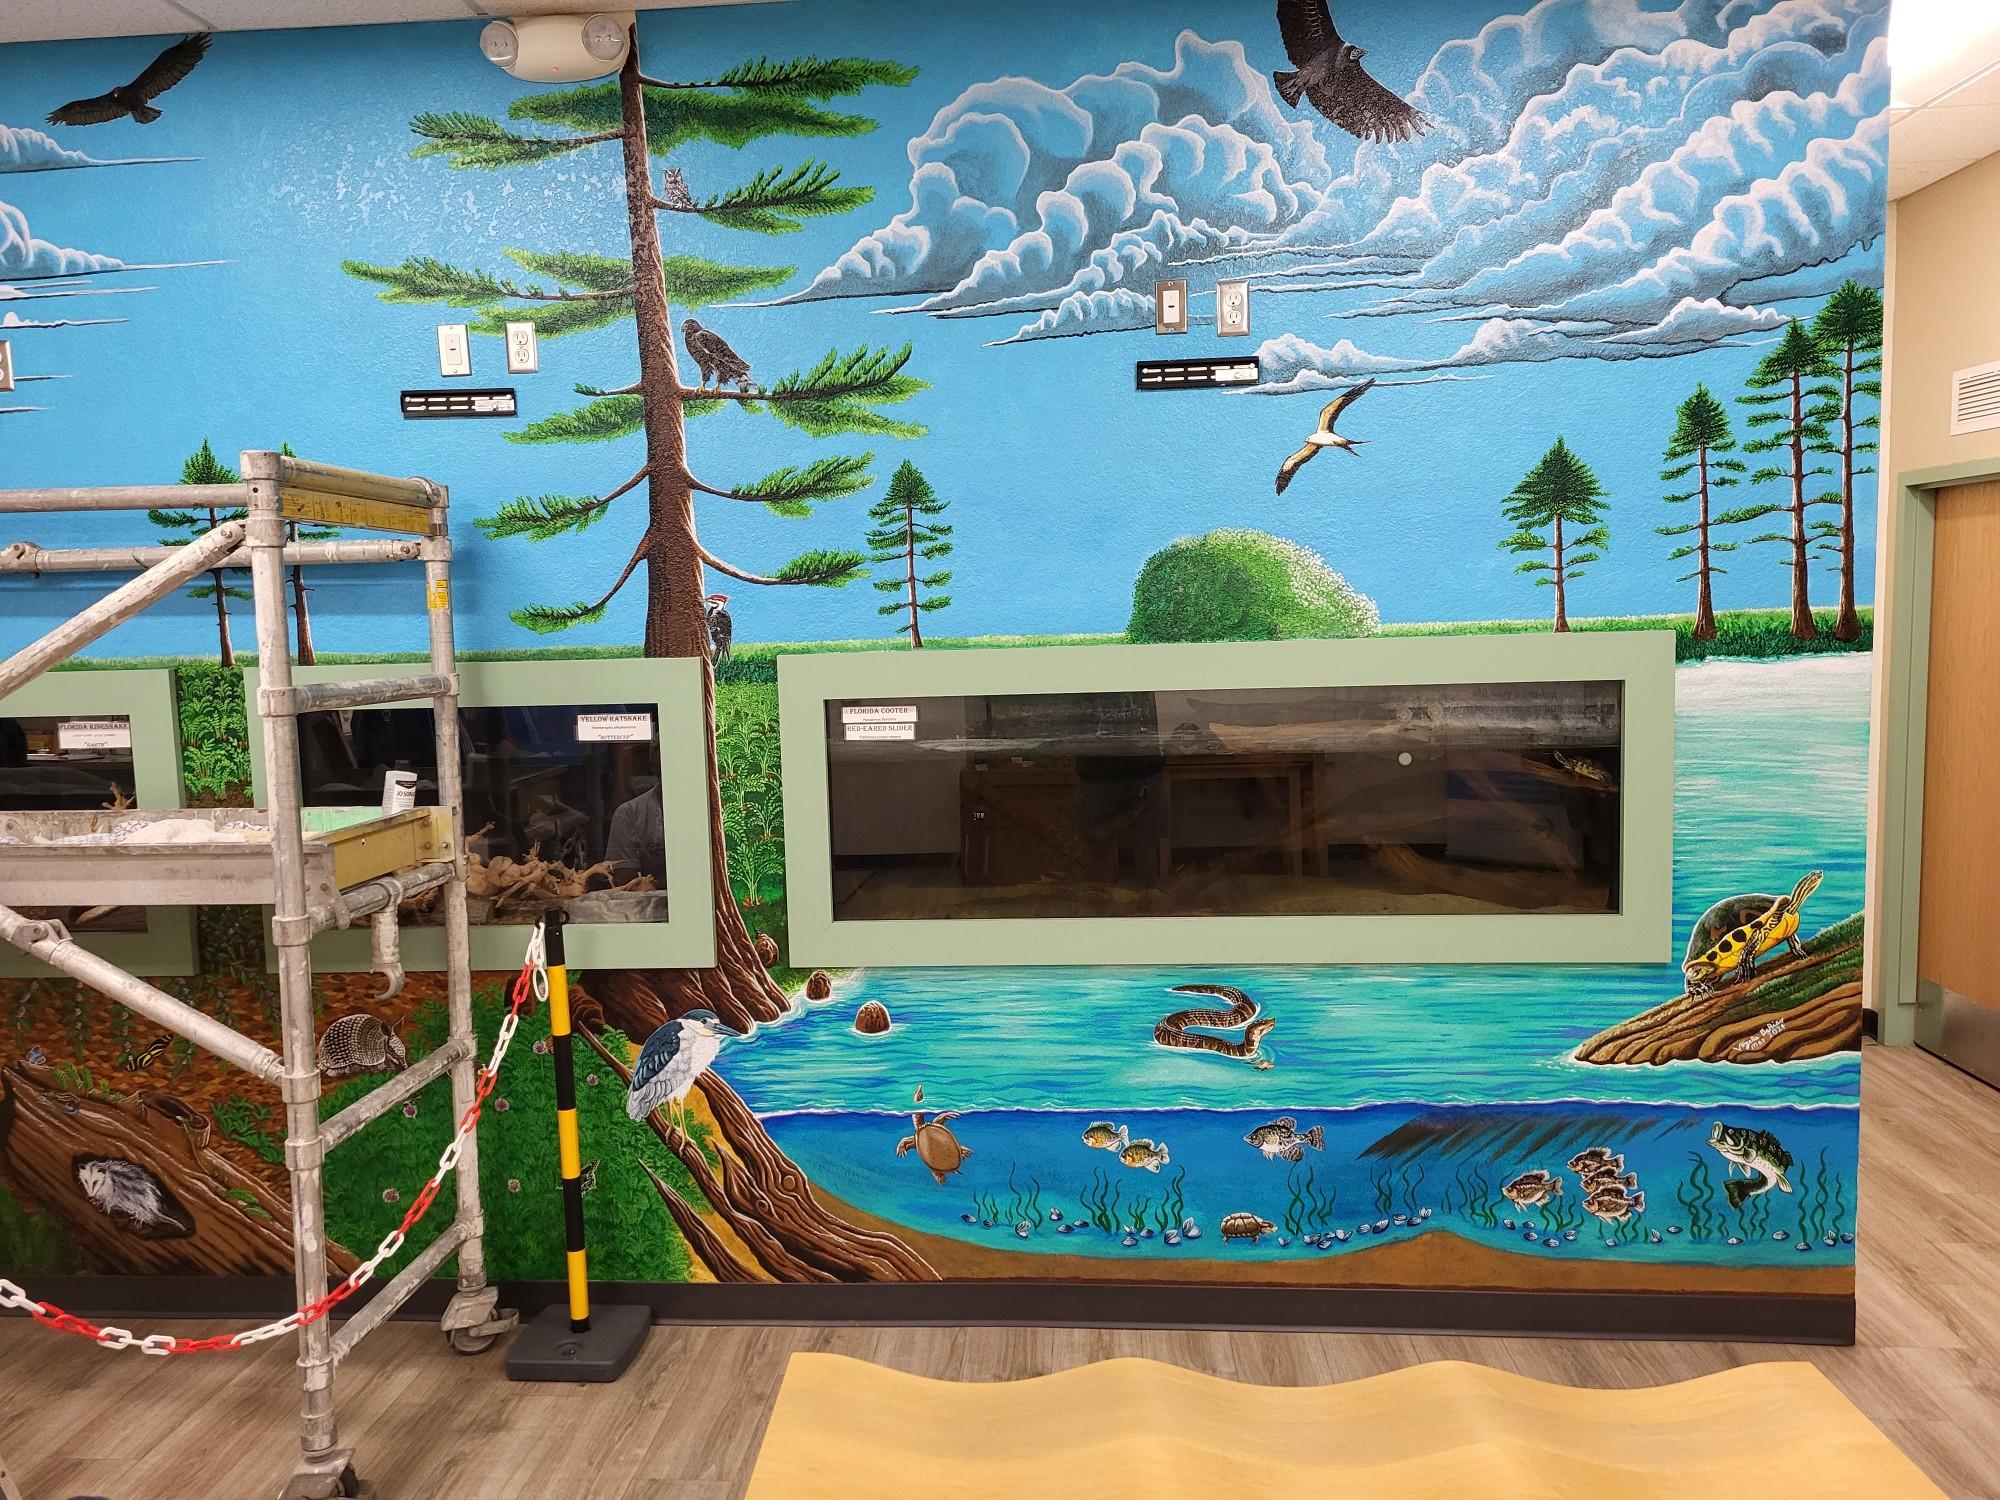
The clouds, because I knew the mural needed some, had me a bit nervous. I wasn’t sure I could paint decent clouds. I printed out a reference for the type of clouded skyline I wanted, and also looked up a few tutorials. I just went from there, and I ended up with more of a stylized structured than I intended, but I did like it. They definitely make things pop. The process involved drawing the tops of the clouds with a diluted white, and with a larger brush, shading in white. I highlighted the top points of the clouds with solid white. Then, using sky blue and black to make a grayish color, I shaded in the lower structures of the clouds, and finally underlining them with black.

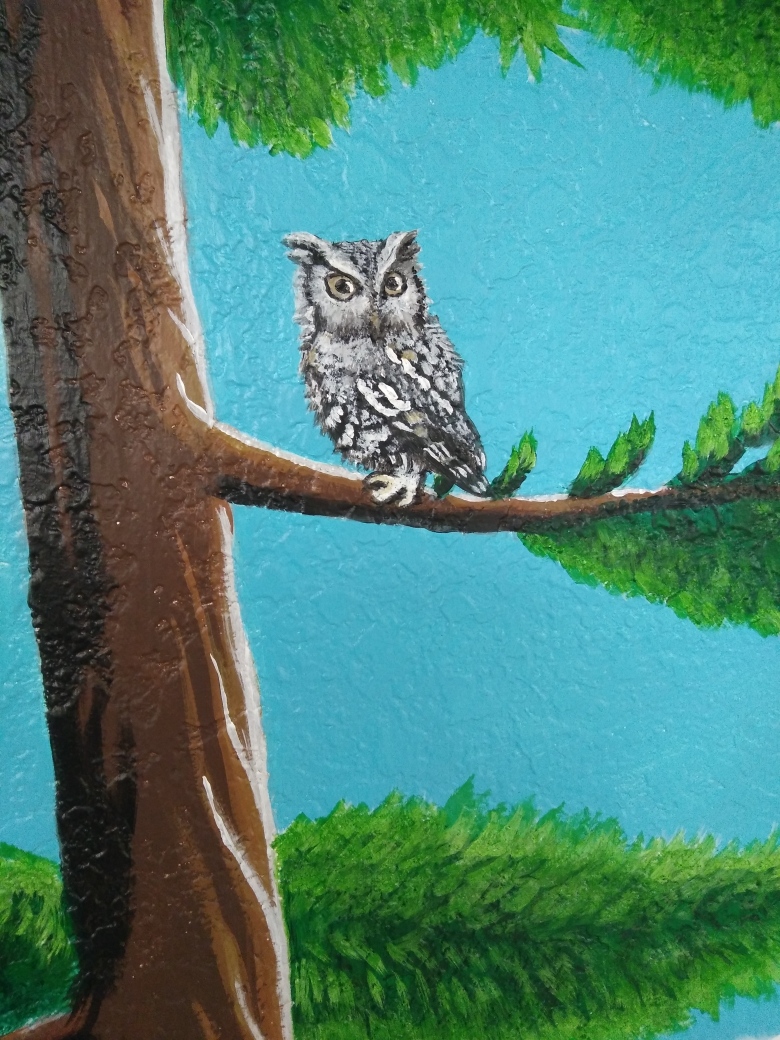
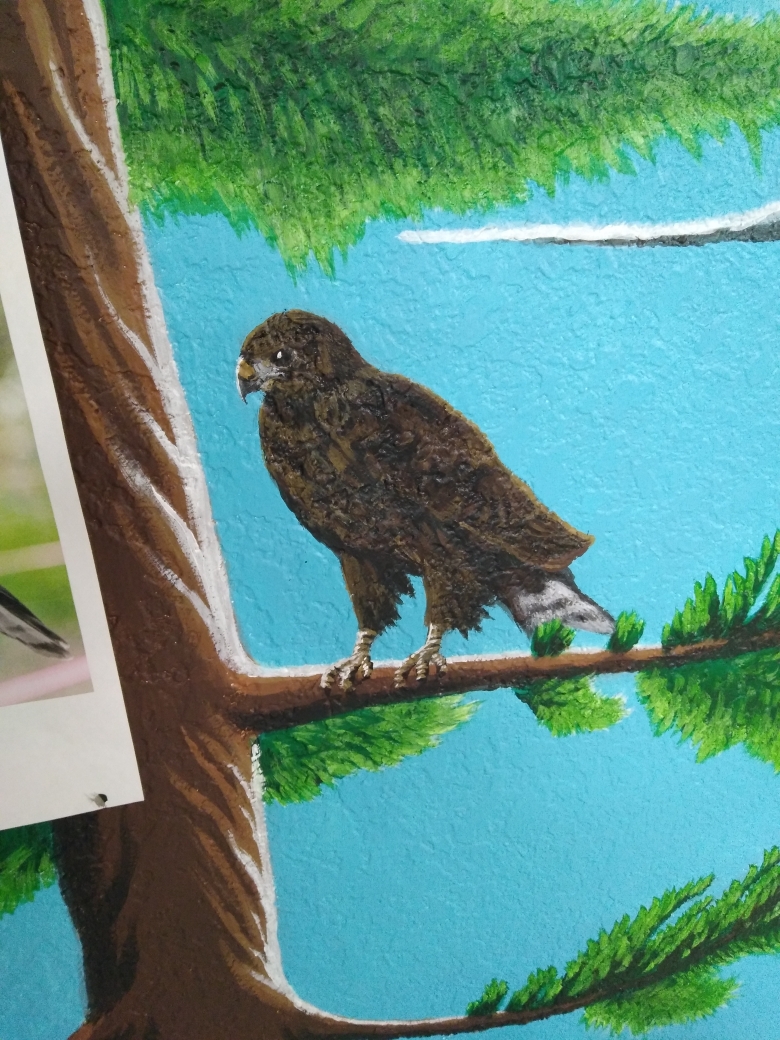
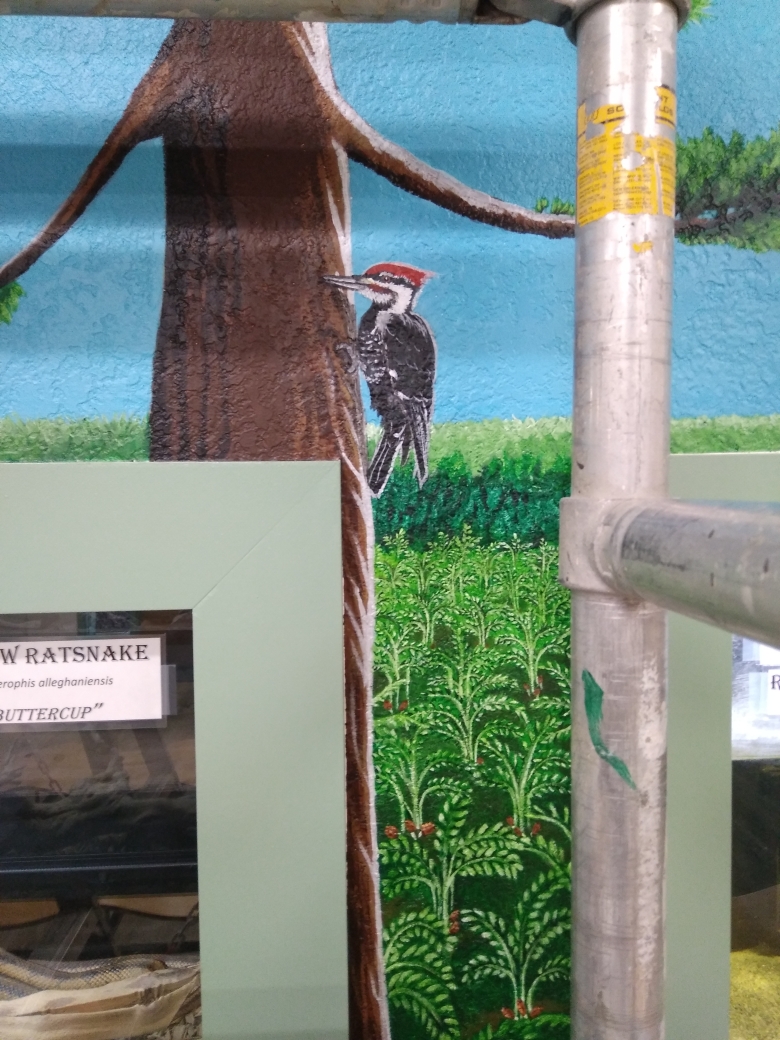


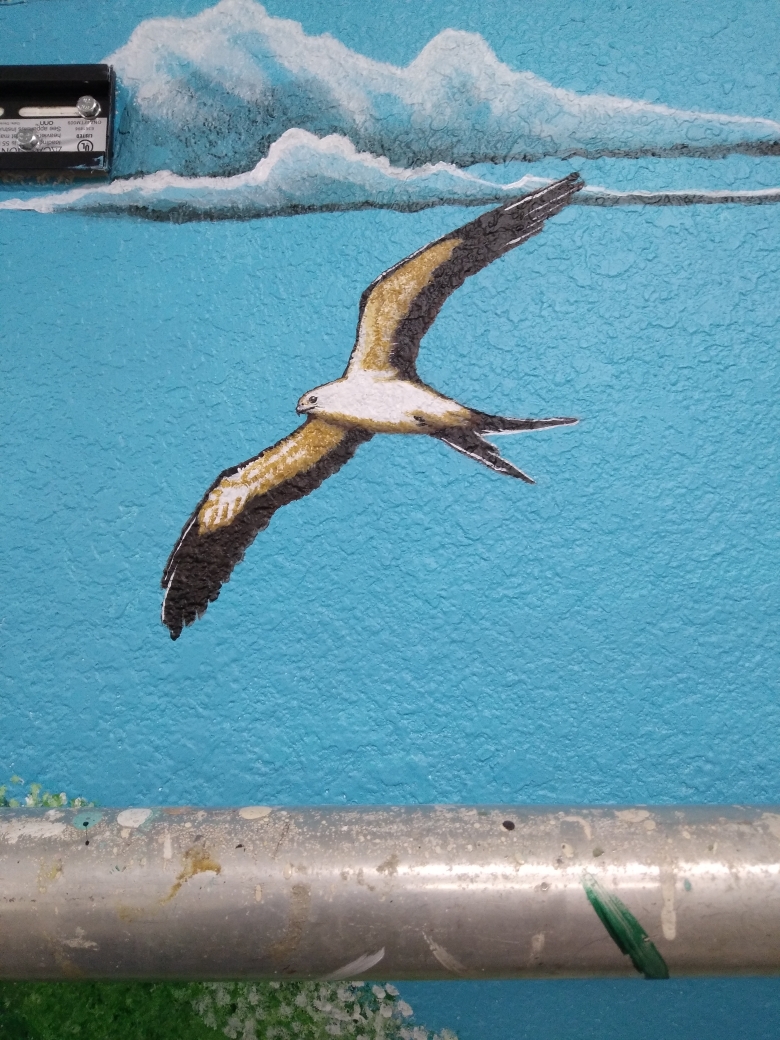

The birds were the last things to be added. The species were all those known to be in or near the park. They include; the Eastern Screech Owl, American Kestral, Short Tailed Hawk, Red Tailed Hawk, Pileated Woodpecker, Swallowtail Kite, Black Vulture, and Turkey Vulture. They were all unique challenges for me to paint. I utilized layering to get them all done. Starting with painting in their overall shape with one base color, then applying colors one at a time using smaller brushes to achieve the detail I needed.
Now officially done with the mural itself, I used the polyurethane varnish to seal and preserve all the work I’d done in these last months. I chose a matte finish, as I felt the glossy counterpart would create more visual distraction from viewing. The building already has bright lighting and should anyone want photos there shouldn’t be any issue if using a flash.
I applied 5 coats of the sealant with took about a week and a half. The directions state to use anywhere from 5 to 6 coats to fully preserve murals. Since this is indoors, I opted for one less coat. The elements such as sun, rain, and wind shouldn’t be major factors for this mural’s life.


While I’m happy with the mural, I still feel critical of my own work. I’m left wondering what techniques I could’ve used better, or if some of my skills just aren’t up to par. I’ve seen so many more skillfully done murals that mine pales in comparison. I’m always hard on myself, and it’s because I can see what I’d like to be able to do. I want to be better. So, while this is an achievement, it isn’t as far as I can go. I’d like to keep learning and get even better.

Leave a comment